
April 2000 Issue
Hello again and welcome back to the Custom Shop!
We have a number of interesting things on the
The first thing is the Road Champs 1970 Chevelle
Fortunately, while they don't do much in the way
...to finish off the details nicely. The pic above
As you can see I also detailed the vents over the
The pic above shows the few minor modifications I made to the front.
In addition, the parking lights on the Chevelle aren't amber.
The pic above shows the finished model completely reassembled
There is no doubt this model now get's five stars
Not all restorations are body-off. Sometimes I simply
The pic above shows one of my favourite Matchbox cars.
At this point I haven't done the fine detail work on this
The biggest difference is the interiors. In the
The pic above shows the yellow Mercedes along with On the blue model I
We have discussed the individual steps that go into
The pic above shows the Matchbox Rolls Royce Silver Cloud
The first thing to do is get out that bottle of silver chrome,
(Note: Of course you can use this information to help you
The pic above shows the detail on the headlights and the begining
I have detailed the taillights and the first coat on the chrome trim.
I've also done the door handles and parking light enclosures.
I've finished the details on the body for now. So now it's time to
There really isn't any dashboard to speak of. And the steering wheel is the
As you can see I trimmed the back seat and put a couple spots of
It's time to reassemble the car.
The pic above shows the car before we started.
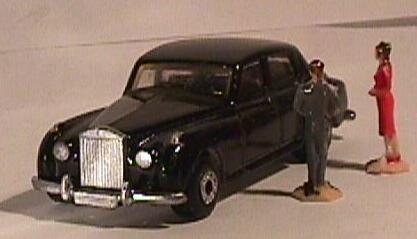
And after.
Well that wraps it up for this month. See you next
A few of you have sent me email and told me that
this is your favourite place in "The Idiot" and
I appreciate that!! It's mine too!.
bench today; let's take a look. 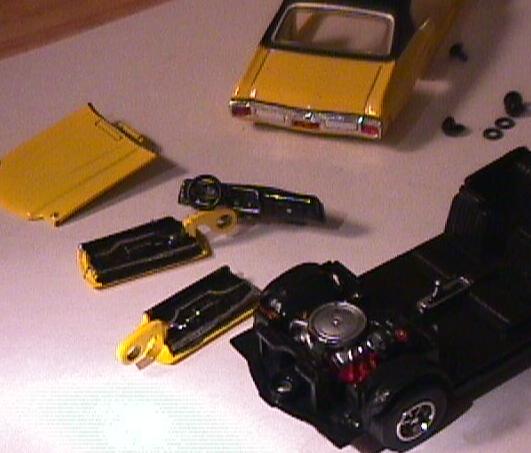
that's this month's featured 1/43
scale diecast. It was given a rating of three stars
I'm going to get that up to five.
Here's what I've done ( you can see most of it in the pic
above). I've detailed: The engine, Tailights, Headlights, Side
Marker Lights, Parking Lights, Dashboard, Interior,
Interior Door Panels, and the wheels.
of fine detailing they did an excellent job with
the detailed molding. As a result it was easy
using the Testors Auto Detail Paint Set (below)... 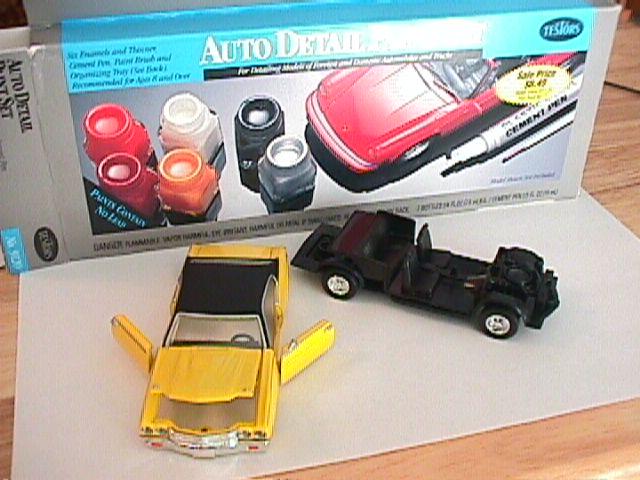
shows the model before I started on it.
I painted the engine block orange and detailed
the rest of the engine and much of the interior
in Bright Chrome Silver ( it comes in the kit).
After that I blacked out the center of the wheels
to make the GM Standard Sport Rims realistic
(Below)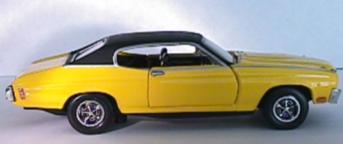
side marker lights that are a Chevelle trademark.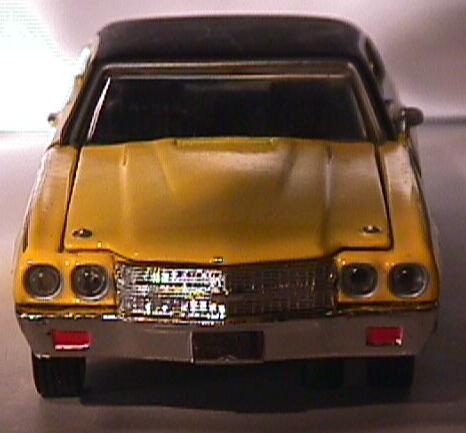
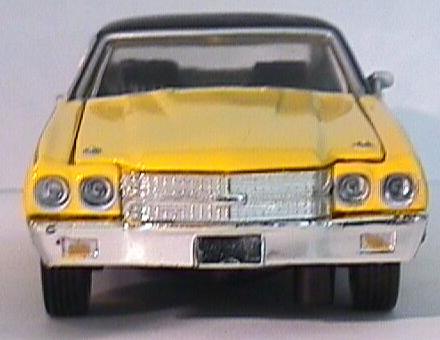
One of the complaints I had with this model was about the headlights. Road Champs had
used clear plastic plugs for the headlights (Left). I had a problem with them
because they were too dark to resemble real headlights. I tried to put various
bright and reflective materials behind the plugs. But they just weren't clear enough
to allow light to reflect back through them. So in the end I removed them and
painted the sockets with Bright Chrome Silver (right). It creates a much more realistic
effect in my opinion.
They are clear white lenses with Amber bulbs behind them.
So I changed that as well. Also I should note something
I didn't point out in the article. The parking lights and
front marker lights on this model were RED (left) Gak! Wrong!
I am happy to say the marker lights are now the proper amber colour.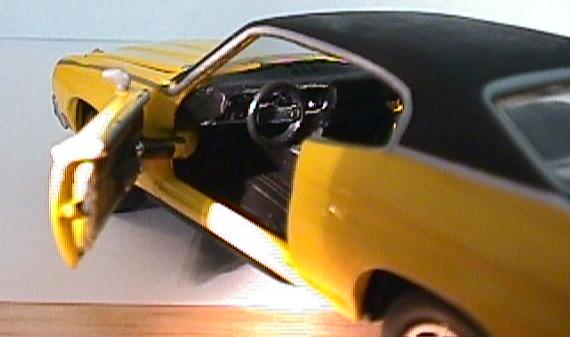
notice the realistically detailed interior.

paint them by hand. These are harder to do and take more
skill.
Before I get to work on them they usually look like the
one on the left. The one on the right is being customized
by hand. Let's take a closer look at it. 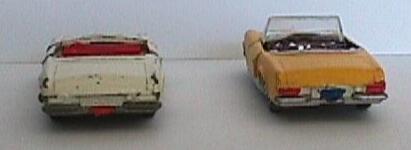
model yet. But you can already see the improvements.
Tail lights are detailed and I am in the midst of converting
the European license plate into an American one. The
bumper has been repainted as have the running
boards, wheel hubs and door handles.
pic above you can see the details that I've added.
This car is being restored using Testors model paint
and a very fine brush. The "chrome" is actually
"Bright Chrome Silver" and as you can see. It makes
a nice chrome finish. The Interior has been done in
"Glove Leather Dark Tan" a custom mix I made myself
based on a pic of a real Mercedes like this one that
had been completely restored. I've detailed the inside
door panels and trimmed the edges as well as the door
handles and window cranks in Bright Chrome Silver.
The restored windshield in this case is from a
Matchbox Ford Galaxie and it's been trimmed
with Chrome Silver paint.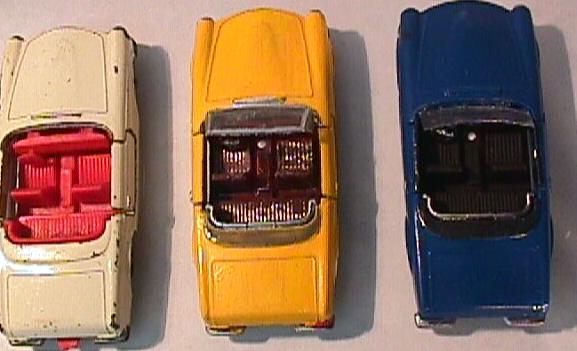
a blue one that is being restored using the body-off
method. You can see the details I've added. Like Chrome
trim around the folded down convertible top as well as
the top itself. And details on the dashboards and steering
wheels. I've also removed the trailer hitch on both cars
(I hate that thing. Whenever I customize a car that has the
trailer hitch I always remove it.
also restored the missing windshield using a curved piece
of plastic cut from a blister pack. When this car is complete
I will have trimmmed the windshield in Bright Chrome Silver as
well.
a customization. Let's create a custom model step by step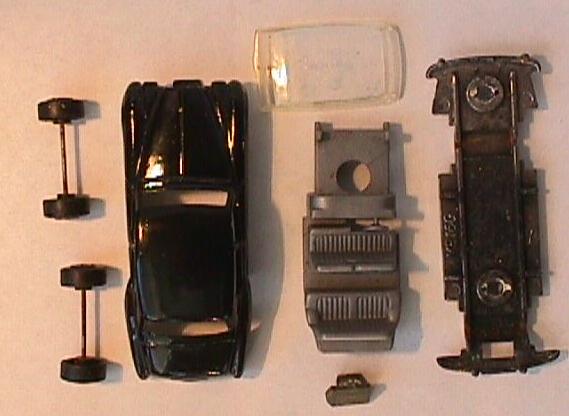
dissassembled. There are some challenges presented by this
model. One is that the chasis is silver plastic, another is
that the axles are loose and not permanently attached.
The body has already been refinished. ( see March 2000 Issue )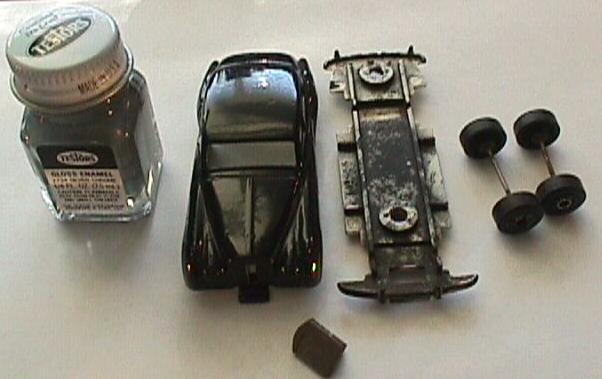
a brush with the finest tip you can find and all the patience you
can muster. Well start by detailing the grille.
restore and customize any car not just this Rolls Royce.
The steps would be the same regardless of the model.)
This car has a removable grill and we have already removed
it. We are going to use the Silver-Chrome to refinish it.
(Note: when using this paint. Make sure that you mix it really
good. Before painting the car do a stroke on piece of paper.
What you should see is solid bright silver, if you see a dark
spot with silver around the edge, the paint isn't mixed well enough.)
Use a tiny brush and only put the paint on the very end. When you
apply the paint to a tiny isolated area ( like the headlights below)
allow only the paint to touch the car NOT the brush. Hold the brush
steady and allow the paint to flow off the brush onto the car. When you
go back to the paint bottle for more paint. Dip the very very tip in the
paint and then use a piece of scrap paper to stroke off the extra paint.
DON'T use the lip of the bottle.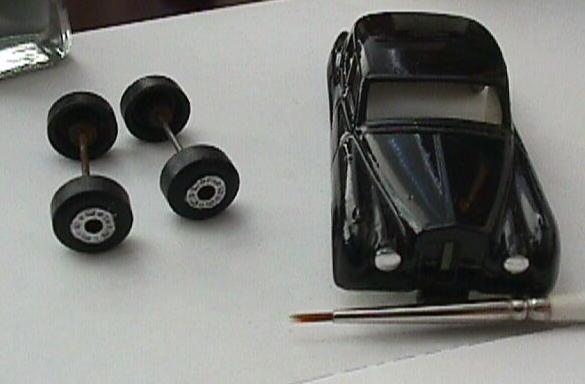
of the restoration of the wheels. After applying the Silver Chrome
let the parts dry thoroughly. If your model is like this one the bumpers
are on the ends of the chasis assembly be sure to paint them. If the
chasis is metal don't worry this paint works great with metal. Just
clean it really good first. And you'll need to do about three good coats.
While we are waiting for the chrome to dry let's take a look at the back of
of this model. 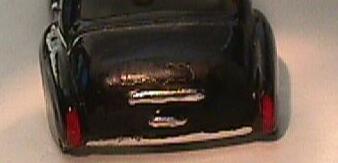
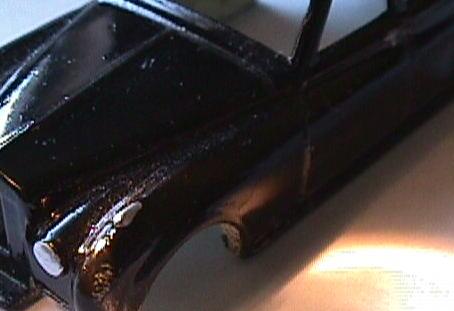
work on the interior. You can spray interiors the same way you do bodies
but I've found you get a more realistic look if you use a brush and
work by hand. As you can see in the first pic the interior is gray plastic.
I would think that a Rolls Royce like this one would have a leather interior
in either Brown or Tan or Maybe Steel Blue-Gray. I think we'll go for dark brown.
Matchbox didn't give me much to work with in this model. But that's ok since
its a hard-top and the doors don't open. One very important point that is
often overlooked is the need to paint the inside of the body to match the
the interior. 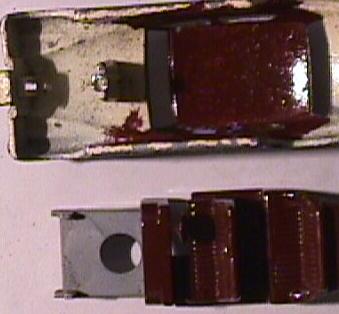
"Solid disc" type that is common in later Matchbox and Hot Wheel Models. However
in spite of this I am going to add a few details. This is a good place to
discuss detailing. The most important thing to remember about detailing
is that "less is more" do the very least that you can do. And don't worry
about tiny details. A few placed spots of paint of the right colour are
often all that's needed to finish off a model. For example don't worry
about trying to paint tiny little instruments on the dashboard of a
1-6x car. Very carefully apply a few tiny drops of silver
paint in strategic locations and the effect will be the same.
Think of a diecast car as a real car that you are looking at from
a great distance. That will help you see why you only need rough details
most of the time. This also applies to buildings and other objects in
your village scene as well. Let's take a look at how I detailed the
interior of our Rolls. 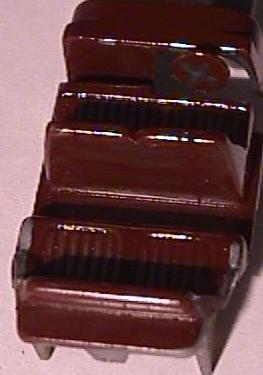
paint on the dashboard. In addition I put an "x" of paint
on the steering wheel. It doesn't look like much now but
when the whole car is back together and you are looking at it
through those tiny windows it will be more than plenty.
In this case reassembly is pretty easy. The parts are placed
into the body in this order: first the glass, then the interior
then the axles are layed into their notches in the bottom of the
interior, then the chasis is hooked over the body in front and pressed
down onto the rivets. And it's done. 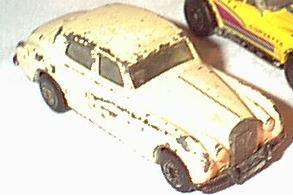
time in the Custom Shop.![]()


 © 2000