

March 2000 Issue
The other thing that divides up villagers is the size of the village
layout. If they put their village up in one large scene they are Uni-Scene Villagers
if they set their villages up in multiple scenes in different locations
their layout is "Multi-Scene". Uni-Scene village layout is closest to
Model Railroading in execution while Multi-Scene is more like Diorama construction.
The biggest difference between a Uni-Scene layout and a Model Railroad is the
lack of a Model Train. But even that distinction is not complete. Sometimes Uni-Scene
layouts include a model train for realism and if that train is functional I'll leave
it to you to decide whether they are still a villager or a model railroader.
The best thing about Villaging that I've found is that it allows a person who doesn't
have a lot of space to engage in the enjoyment that comes from a hobby similar to
model railroading. Since there is no train to set up ( and model trains require enough space
to set up at least one loop) a Village scene can be set up in a considerably smaller space
than a model railroad layout.
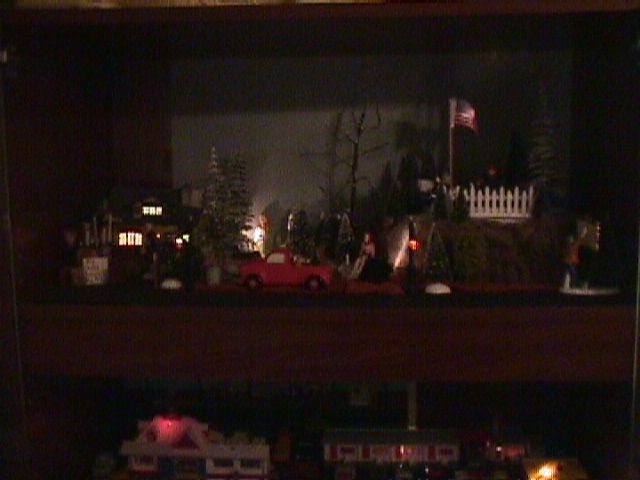
Consider the scene above at first it looks big and complex and it seems like it's taking
a lot of room.
However when you look at the pic above you can see that it actually occupies one shelf
of a small showcase. (15 1/2" x 30", less than three feet wide)
Let's take a closer look at some of the details that make up this scene. I try to make
all of my village scenes relate to one another and each one has a name that defines it's place
within the village. This scene is "The Park".
Now the first point to be made about the park is that it's not Entirely Dept. 56. I center
my village around Department 56 pieces because they are my favourite but I also use other
pieces as well since I want my village to have it's own unique look.
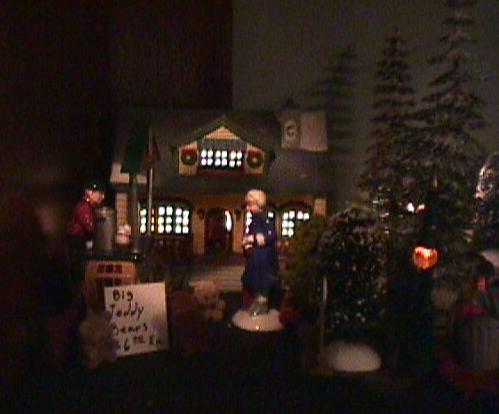
Take a look at the pic above. There are a number of different pieces here. (I apologize
if they are kind of hard to see. I was trying to allow you to get an idea of the scene
in it's natural light. So naturally it's a little dark.) First of all the cabin at the end of the
road in the distance is actually made by Lemax ( sold at Michaels stores) I chose it over Dept
56 because they just didn't have anything that would fit in this scene like I wanted. However
the Starbucks Coffee Vendor and the Lady Customer are Department 56 pieces. I took advantage of the
fact that these pieces are out of scale to the buildings ( See 1/43 Scale Diecast
for a discussion of the scale of Dept 56 Pieces and the problems associated with it) to produce the effect
that the building is farther away than it really is. The teddy bears sitting around as a side line for
the Starbucks guy are my wife's idea. The bears themselves are a craft supply item also available
at Michaels or most craft and hobby stores. (To see more about my wife's passion click here >>
Lori's Bear Shelf ) The sign is home made.
To the Right you see a rounded tree with a white base that's Department 56 while the
street light to the right of that is Lemax. The trashcan to the right of the street light
is Department 56 as well. The trees in the background are various manufacturers and are
easily available in most hobby or model railroad shops. The "asphalt" is actually black
art paper and the gray "sky" is actually gray art paper. At this time the background are
still being finished for this scene so the "sky" isn't complete.
This scene shows more of the detail in the center of the scene. The truck is a Department 56
Piece. ( note I should point out that Dept 56 retires pieces from their various collections every year
and that many of the pieces in my collection are retired. If you see a piece here that you would
like to have and you find out that it's no longer available your next best bet would be
Ebay ) The Ice Skating girl sitting next to the lake is actually
a Coca Cola Piece. (Note collecting Coca-Cola memorabila is another passion of mine, when this site
is completely finished my next site will be dedicated to that, coming soon.) The mermaid statue
in the distance is a Christmas ornament I picked up at a Christmas Store in Beavercreek Ohio.
Again I used difference in scale to make it look farther away than it really is.
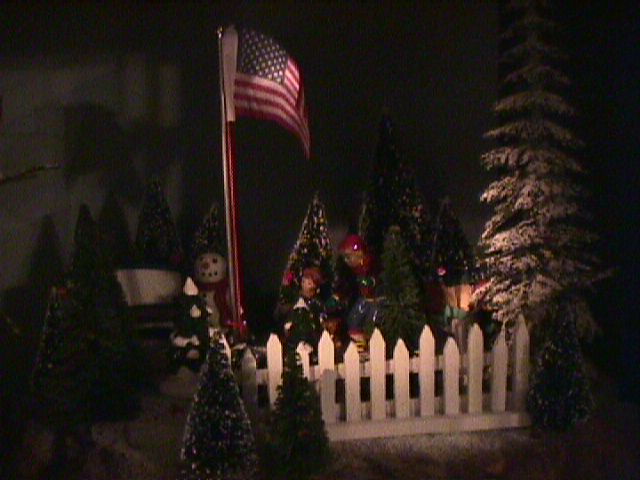
In this scene the flag pole, park bench and snowman, and the kids are all
Dept 56. The White Picket fence is a Lemax accessory and the "rock" that
the whole scene is sitting on ( see second pic above) is actually
a "display platform" and it's made by Lemax as well.
WHAT ABOUT THE LIGHT?
There are three sources of light within this scene (I added an extra one for
the photograph but there are only three) The light within the cabin, the two street
lights, and the two flood lights. (5 sources if you count them individually).
The street lights are a Lemax accessory (available at Michaels Stores) the
flood lights are actually a Department 56 accessory sold within the
Snow Village line, item #
52611 . (Btw if you want a great place to actually BUY Department 56 stuff
Go Here ) The flood lights
are used for two important purposes in the park scene. They light up the
American Flag and the Statue of the Mermaid, and they provide extra incidental
light allowing you to see other objects in the scene. They are hard to see
in the above pix and there is a reason for that. They are hidden
so that all you see is the light they provide. In the pics
above the flag and the mermaid are being lit by the flood lights IN THE SCENE.
That's NOT the photography light you see.
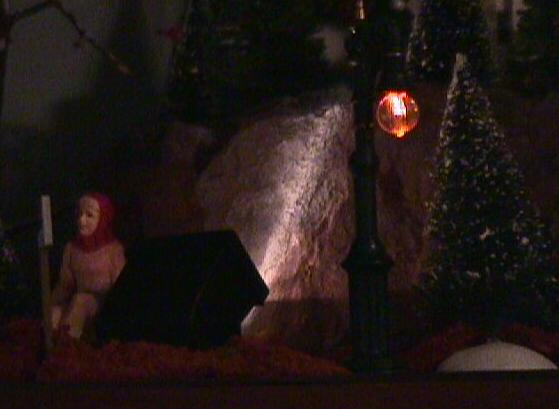
In the pic above you can now plainly see the flood light. You can also see the light
shining up on the rock causing the front of the rock ( or display platform) to show
to great effect. Look at the pic of the lake above. That light shining on the
Mermaid is the other flood light (they come in sets of two) and you can see
what a dramatic effect is produced by it.
It seems that when people produce a village scene they know that the buildings
or houses will be lit and they often put in street lights or other lighted accessories
but they forget that all important third kind of lighting, incidental lighting.
Incidental lighting is the lighting that is neccesary to make objects in a scene
show up and may or may not be related to the scene. In the scene above the lights
are lighting the mermaid and the flag. Since in real life there would be flood lights
lighting these things I was able to put the lights right out in the scene where they are
visible. The lights themselves become accessories to the scene in this case. But what about
a scene where flood lights wouldn't be part of it. You stiil need incidental light,
you need it no matter what.
Consider this. This scenes are designed to be lit up. That means that they are
night scenes. But what would a scene like this really look like at night? Well let's take a different
period. How about the Dicken's Village? That's a good example from two centuries ago ( didn't that sound
funny? It's true now you know) In the 1800's they didn't have electricity. Therefore the sources of light
at night would be from flames of some sort. Either fires or candles or maybe gas lights in the city
or oil lamps. Needless to say it would be very dark. Most of the light would be in the houses
and it would be dim. There might be some gas street lamps and maybe some lanterns around
outside but that would be it. But if you tried to just use the light in the buildings and
the street lights for the scene, it would be realistically dark yes but you wouldn't
be able to see it very well. Since a person's eye's adjust to the dark it doesn't look
realistic to have masses of dark shapes that you can't make out. That's because
no matter how little direct light there may be in a given scene there is always
going to be additional ambient light as well. You may have bright moon light for example
or even the stars provide some light if there are enough of them and it's clear enough.
Therefore to finish lighting your scene after you have put up your street lights and have
lit your buildings you need to add some additional light. Light from hidden sources
so that you can see the effects of the light but not the light fixtures themselves.
Lighting that is put in place for the express purpose of creating artificial
ambient light is called Incidental Lighting.
The best incidental light I've been able to find is the Department 56 52611.
It's not very expensive and it provides a bright clear light from a
flashlight bulb. You can run them on batteries but I recommend you
get the ac adapter as well. It makes the light brighter and
and it lasts longer and you won't go broke buying copper tops
to keep your village lit. Also the light bulbs in these
flood lamps are replaceable and they even comes with spares.
If your village is a large Uni-Scene than you can use a string
of minature christmas lights. just work the lights around in your
village and hide the wires. This is a great way to add
multiple incidental light sources easily and cheaply. If the
village is the Snow Village ( or some modern equivalent)
you don't have to hide the bulbs just find some way to
make them look like flood light fixtures and aim them at something
that makes sense. Like the signs on the front of buildings
or walkways or streets. If a person-figure is standing between
the light and the it's target so much the better. This is a natural
way to light the people. If your village is the Dicken's village (or
it's traditional equivalent) and is set in a time before electric
lights. Use yellow, orange or red bulbs and try to make them look
like fires and lanterns and such. If you need to light a place
that wouldn't have a fire or lantern hide the bulb so that only the
light can be seen but it's source isn't clear. Try whenever
possible to lay out the wiring for all the lighting in advance.
That way you'll know where to put everything before you
put too many things in the way and it makes it easier to hide the wires.
In the next issue we will go through the construction
What exactly is a Village Idiot?
What is the Village Idiot all about ? This site is dedicated to the hobby "villaging".
People who enjoy this hobby are known as "villagers" or affectionately as "village idiots".
Villaging centers around the idea of creating a "village" using ceramic buildings with
lights inside. The most famous manufacturer of these house is
Department 56.
Department 56 makes many different kinds of villages each set in it's own period.
There are two kinds of Village Idiots Seasonal and Year Round.
Some people keep their Department 56 village pieces packed away
all year and then get them out and set them up around Christmas
(they are primarily Christmas Villages after all). and maybe
leave them up during the Winter Season and take them down. My Sister
(who has the New England village )
Sets her village up around October and takes it down in March or so. My Mother
has the Dicken's Village
also sets her village up for the Christmas season. My Village on the other hand
is the Snow Village
The modern American Village set in the 50's and 60's. And I leave mine up all year
although it's most likely to be lit in the winter. 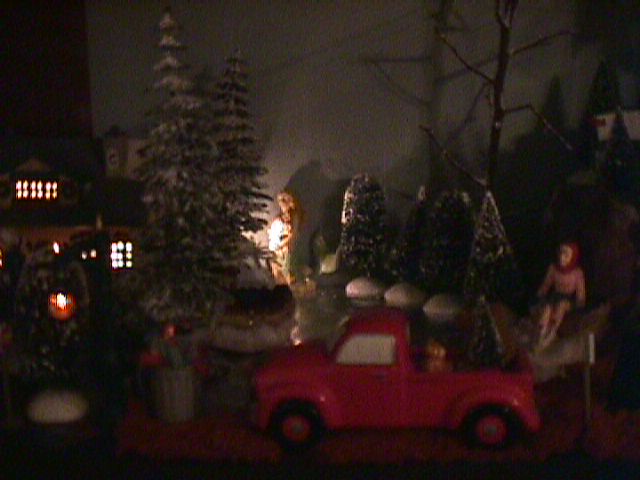

of a Department 56 Type village scene step by step from begining to completion
and cover every step of the planning and construction.
![]()


 © 2000