

|
| May 2000 Issue |
A new recurring feature in The Village IdiotHelping you use your computer as a development tool for your villageThis month: creating backdrops |
|
|
Of course you couldn't be here if you didn't have a computer. And if
you are like most people you have a colour printer too. You might
even have a digital camera. But have you thought about how you
could use that technology to improve your village? Well that's
what this new feature is all about. For this month's project
you need: a computer, a colour printer, a digital camera,
and some graphic editing software. Help I don't have a digital camera what do I do? No problem just use a conventional camera and send your film to one of those services that will put your pix on a disk. Help I don't have a colour printer! No problem print out the images in black and white on good paper and then touch them up with some paint. (I have a colour printer and I still do that sometimes it creates a nice effect.) Help I don't have any editing software. Well that might be a problem. You will have to go buy some or download some. I recommend Ulead System's PhotoImpact 4 it's what I use to produce this whole site and I'm using it in the examples. Ok let's get started.
|
|
The first thing we are going to use our advanced technology
for is to produce photo realistic backdrops. I touched on
this in the April issue but now I'm going to get into
greater detail. The first thing that you need to decide
is what is the backdrop going to be? You want it to be something
you have. Like maybe a pic of the seashore that you might own
or one of the buildings or a group of buildings from your
( or someone else's) village. In my case I want the back drop
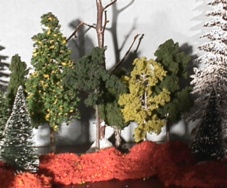
to be a forest and I'm going to use the stand of trees I made in
the last article as my subject. The first I do is set the stand up
in front of some gray paper and put some more trees around it to
make a nice arrangement.
|
|
Next photograph the arrangement and load the pic into
your graphic software. Look at the pic carefully make
sure it's in focus. Make sure that there isn't anything
in there that doesn't belong in the scene. If everything
is ok print it out on good paper.
|
|
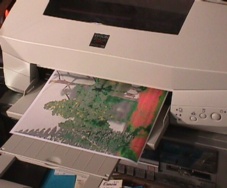
As luck would have it I had a nozzle clog just as I was
working on this article but I decided to go ahead. I fixed
the problem halfway through. So don't be surprised if your
backdrop looks better than mine.
|
|
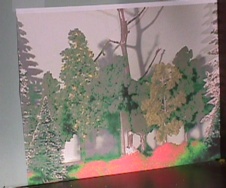
Now get ready to put up your backdrop. I have chosen my favourite location; a bookcase with a back on it. But you can push a table up against a wall or attach a backdrop to the back of a table. Whatever you want to do. Just make sure that you have plenty of room to work, I recommend that you remove everything from the shelf / table first. |
|
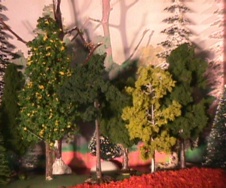
Now attach the pic you just printed to the backdrop. |
|
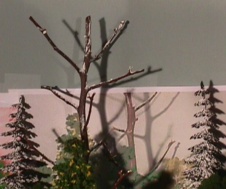
Now place the stand and the other trees back in front of the backdrop and photograph it AGAIN. The reason you do it twice is that the trees with a backdrop of trees behind them makes a much more realistic forest effect than just a few trees in front of gray paper. Of course you could produce the same effect with a good size photo of a forest from a magazine or something just make sure that the scale of the trees in the photo is consistent with your real trees. |
|
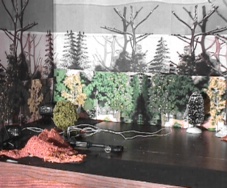
If they're cut off do a second photograph of just the tops of the trees. |
|
You now have two parts, a top and a bottom. Print out enough
of each to cover the whole back( and both sides if it's a closed
book case). You now have a complete custom made photorealistic
backdrop made with your computer and printer. Well it's time
for me to stop and you to get to work so I'll see you next time
in the e-village.
If you have any questions about this article drop me a line at [email protected] or
|


 © 2000